Menu Bar

Showing posts with label myDIY. Show all posts

DIY: Chalkboard fun!

I've had a cork-board sitting in my closet for almost 2 years now, it was doing nothing for me. I dreamed up big plans I had for it and I never did anything. Last week I decided, I know what I'm going to do with it... and I'm going to get it done by the end of the week!


Here is what you need:  
  • Hot glue gun
  • Hot glue
  • Clothes pins 
  • Chalk Paint 
  • Paint brush 
  • Paint color of your choice (Sample size container)
    • I went to home depot and looked at their "oops" section and found exactly the color I wanted. It was only .50 cents! 
  • Chalk

Step 1: Since the chalk paint is darker than the paint I used for the border, I painted the board first. I used the entire can of pain on the board. Since it is cork it soaked up the paint pretty quickly. Your board should feel smooth when you are finished. If you can still feel the grains of the board when it dries, then you need another coat. Leave the board to dry overnight.

Step 2: Take apart the clothes pins, so they are completely apart and you can either save or toss the metal piece that holds them together. 

Step 3: Hot glue the clothespins onto the borders of the board. I put two clothespins side by side for my border, as shown: Let the glue dry for about an hour.


Step 4: Now comes the paint color of your choice, I chose a pale blue for my color (I mixed the color I bought with a color I already had). Then paint away!

(Optional) Step 5: After the paint dries on the clothes pins, I roughed it up a bit with some low grade sandpaper because I love the aged look! 


Here you have your very own, homemade chalkboard!


Hope you enjoy this simple DIY, it's a great weekend project! Have a wonderful Sunday lovelies :)  


DIY: No- Sew!

I desperately wanted to buy a ton of throw pillows and drown in an ocean of beautiful fabrics, but being on a budget didn't allow for that to happen as I had hoped for. In the midst of my sorrow I decided to make my own!  I had a few pillows laying around the house that I wasn't happy with, so I chose them to be my victims!

Supplies:
- Machine washable, strong adhesive fabric glue (can be found for $3 at Michaels)
- Beginners Sewing kit; came with the measuring tape, scissors, and pins (Yardage Town $12)


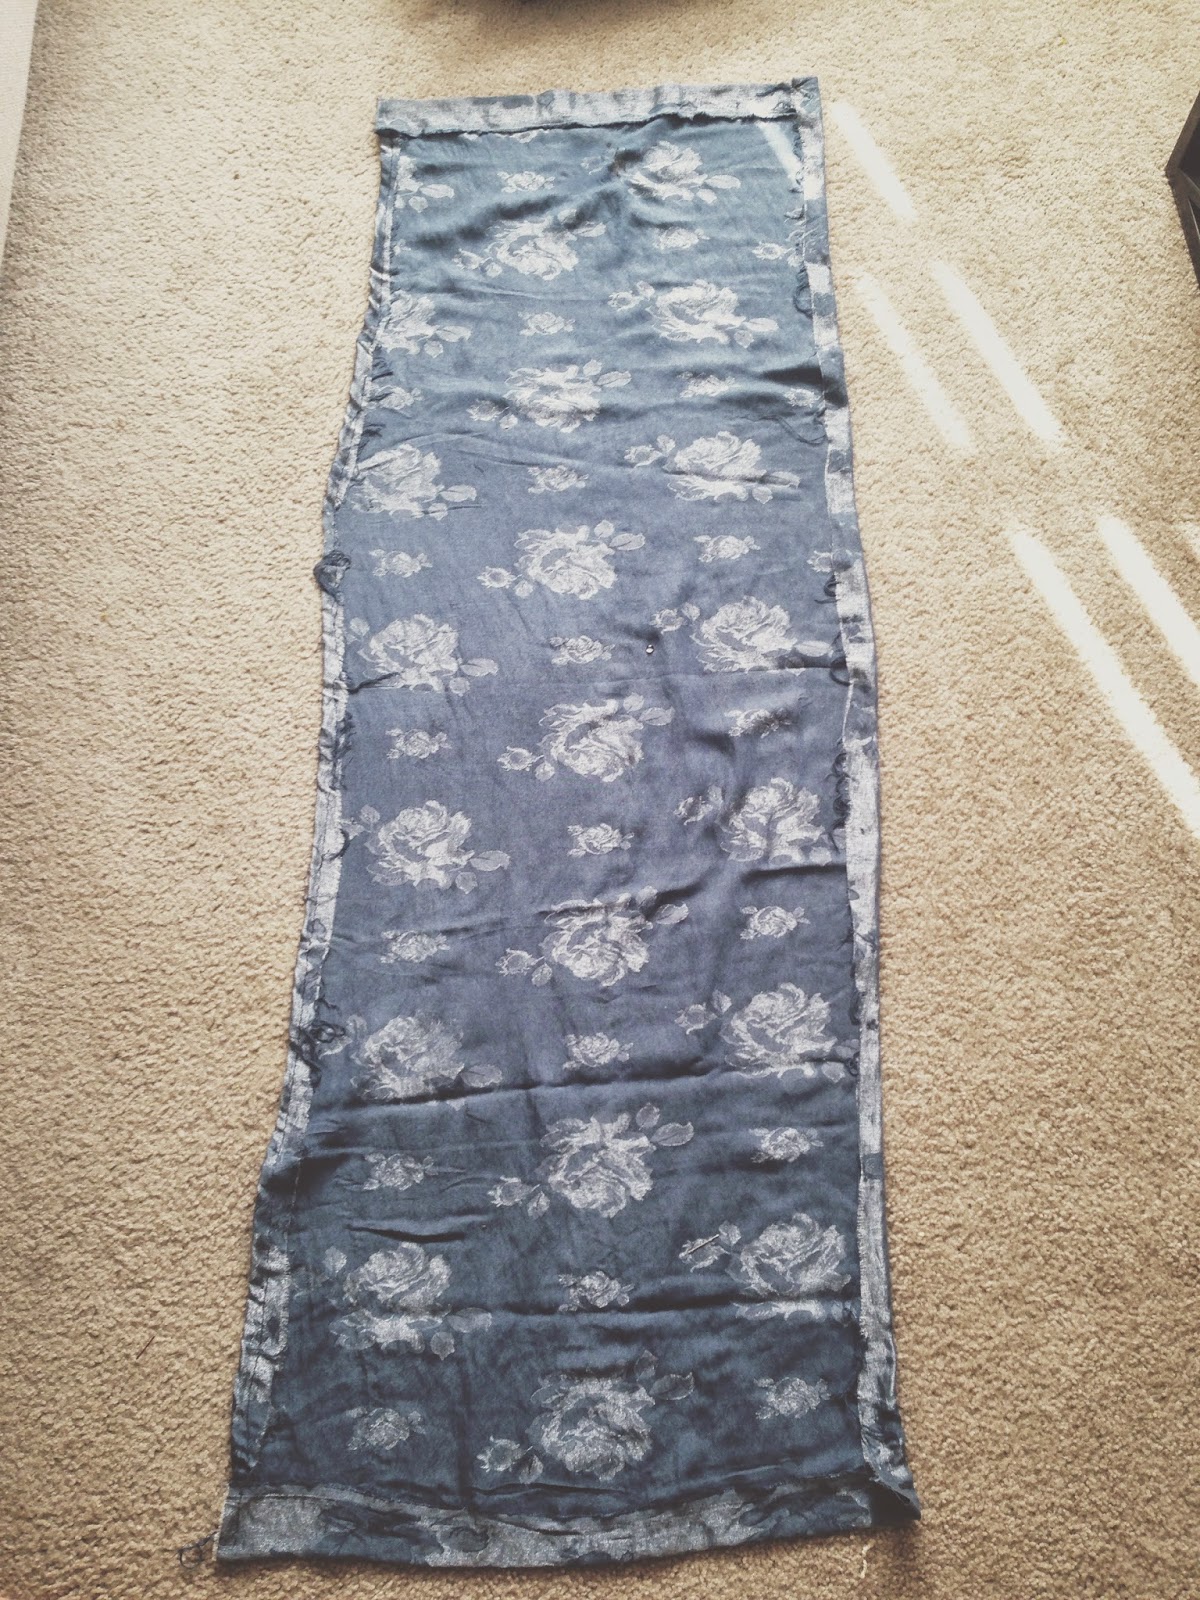
1. Find fabric that you love
2. Find an old pillow that has a great shape to it.
3. Measure your pillow
4. Measure the fabric:
      - Give yourself about 2 inches extra, in width, on each side.
      - For Length, double the number you measured for the pillow.
Example: Width of pillow is 6", cut the material at 10"
                Length of pillow is 12", cut the material at 24"

4. Lay the material flat on the floor, and fold in about an inch on all for sides.
5. Pin the material down, and iron the edges to make a clear fold.


CAUTION: Be sure your material CAN be ironed, mine was not heat durable, I learned that the hard way.
6. Take your glue and begin to glue the material, and take away the pins as you make your way down the line. Wait about 10 minutes before beginning the next step.

7. Fold over the pillow, make sure you have clean and decisive lines:
After you've chosen how you will fold the back, pin the folds. 

8. Begin to glue on the folds, and remove the pins as you do. 
9. Let pillow dry for 24 hours, before any vigorous movement :) 


You did it!

TIP: While applying the glue, be sure not to press the material down, but take 4 fingers and pat it down as you go. This will prevent any dark glue marks left on the showcase side of the pillow.
 

DIY: Shadow Boxing - wk2

The walls in my room were totally bare, for that reason I had to come up with something. As I hate chords, I equally dislike bare walls. 

In our closet is a slew of wedding gifts that I haven't quite figured out what to do with. The day I finally had an idea ... a picture frame gift set was the perfect match.

The Victim: 


Supplies: 


1. Low-grade sand paper
2. Disposable gloves
3. Wood stain (or paint your choice) 
4. Paper Towel
5. Paint can opener.. or if you're like me and dont have one, a flat head screw driver ;) 

First, I removed the glass and backing of each picture frame. In order to keep track of which glass goes to each frame this is what I did: 


Second, I used the paper towel as a paint brush. I dipped just the tip of the towel into the wood finish and brushed each side with a very light layer.  After all seven had dried, I took the sand paper and roughed up each side to my liking.

Lastly, for the centerpiece I had a Window Frame (can be found at target). I used lace to fill the inside of the window frame instead of a picture (my preference). 

Final: 


I hope you like it! #homedecor #innerdecor


DIY: I HATE CHORDS - Wk 1

You may or may not know that I love to decorate, I also love to try new things when it comes to decorating and that is why I have chosen to pick some DIY projects. YAY!

We have a TV stand in our house that is beautiful, as it was custom built for us (courtesy of http://manuallymade.tumblr.com/) however since we did in fact, have our TV on top of it and all of our necessities for entertainment there were a visible mess of chords... everywhere. So I decided to fix that problem once and for all:


I had some leftover burlap table runners left from my Bridal shower and decided they could be put to great use (I am all about repurposing stuff just laying around the house). 

This is what I used: 


Step 1:
Measure the area that you are covering with burlap and add and 1" to each side just so you have enough material to work with.

Step 2:
Get a partner! trust me this is a lot easier to do with someone who can hold the material on the other side... it will save you a lot of backaches and unnecessary squats.

Step 3:
Start on one side, nail in the top corner and stretch the material straight down to the bottom corner of the stand (or whatever surface you're putting the material over). Make sure the edge of your material is parallel to the edge of the stand.

Step 4:
Now go to the other side (unless you were smart and got a partner like advised) and make sure the material is stretched so it is tight across the back of the stand. Then nail the top corner and down to the bottom. Again make sure the edge of your material is parallel to the edge of your stand.

Step 4 is the most important and ... strangely the most tedious part. It can be rather stressful but it will be well worth it!


Tah-Dah! The End. 

Next week will be another DIY project 'How - To' so be sure to check in and see what else you're capable of!

#homedecorating