Supplies:
- Machine washable, strong adhesive fabric glue (can be found for $3 at Michaels)
- Beginners Sewing kit; came with the measuring tape, scissors, and pins (Yardage Town $12)

1. Find fabric that you love
2. Find an old pillow that has a great shape to it.
3. Measure your pillow
4. Measure the fabric:
- Give yourself about 2 inches extra, in width, on each side.
- For Length, double the number you measured for the pillow.
Example: Width of pillow is 6", cut the material at 10"
Length of pillow is 12", cut the material at 24"
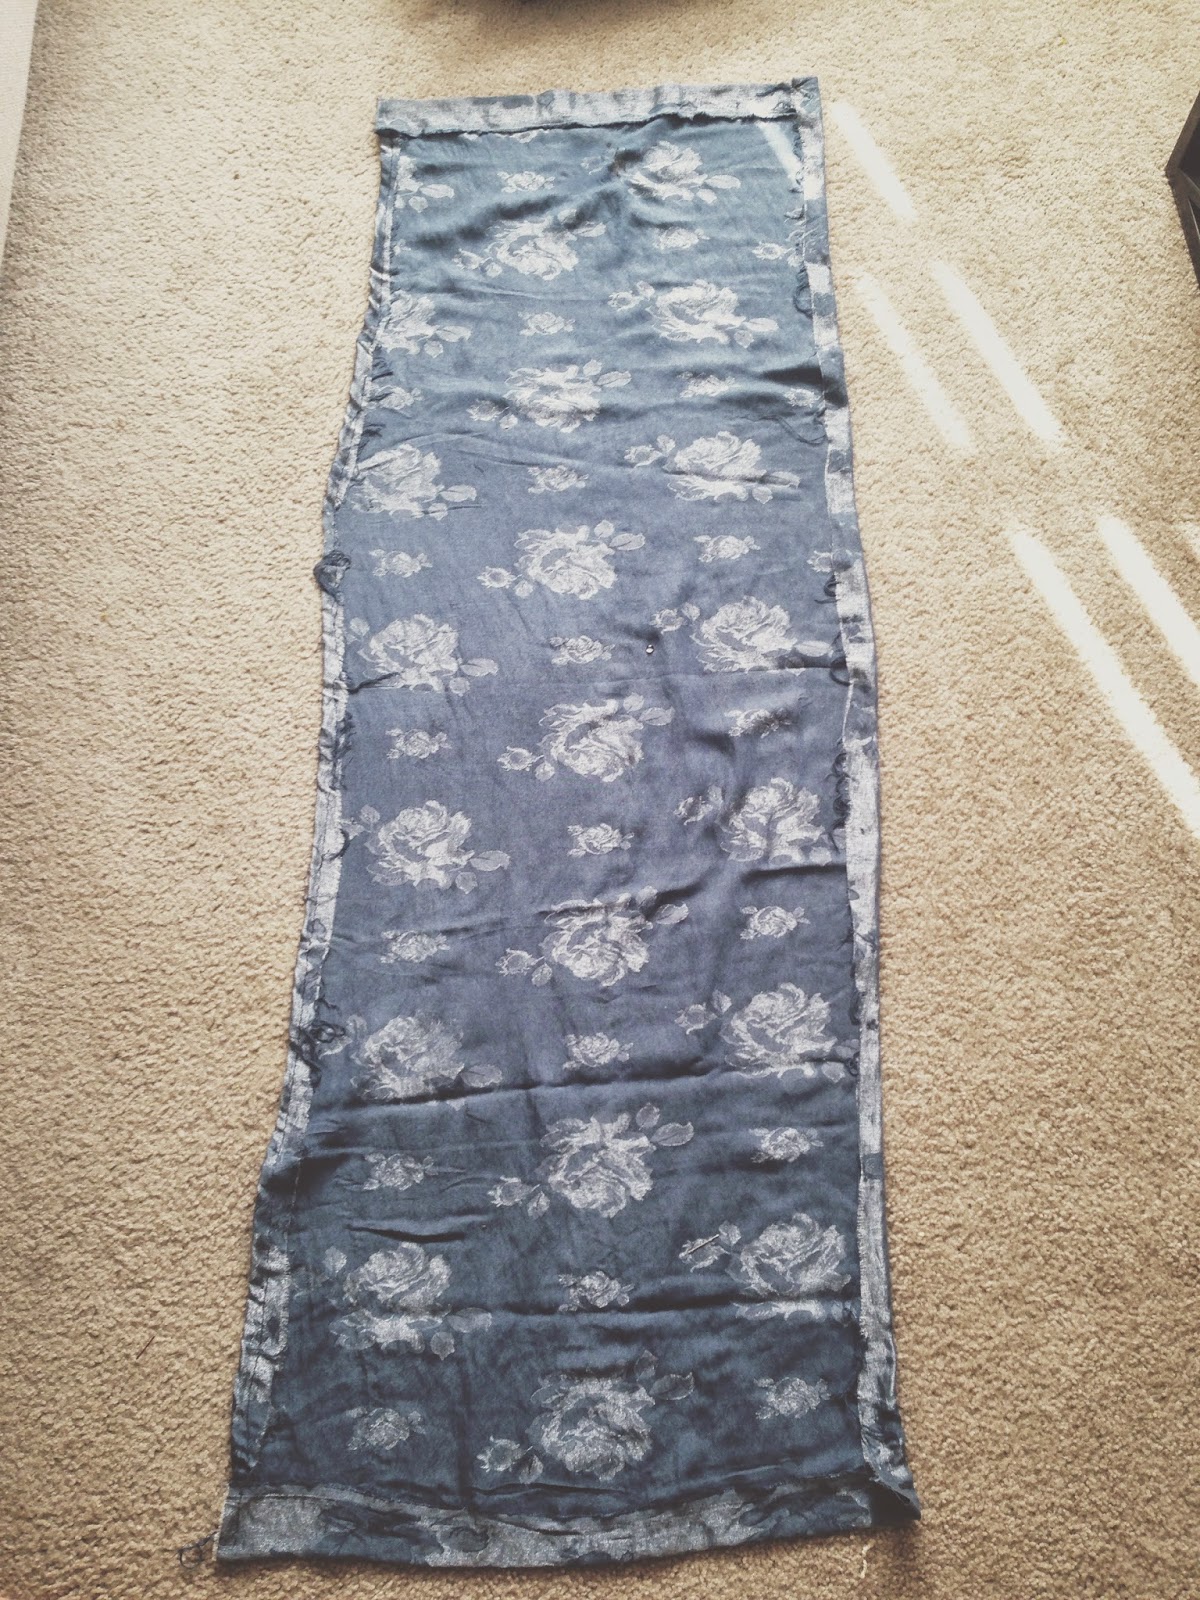
4. Lay the material flat on the floor, and fold in about an inch on all for sides.
5. Pin the material down, and iron the edges to make a clear fold.
CAUTION: Be sure your material CAN be ironed, mine was not heat durable, I learned that the hard way.
6. Take your glue and begin to glue the material, and take away the pins as you make your way down the line. Wait about 10 minutes before beginning the next step.
7. Fold over the pillow, make sure you have clean and decisive lines:

After you've chosen how you will fold the back, pin the folds.
8. Begin to glue on the folds, and remove the pins as you do.
9. Let pillow dry for 24 hours, before any vigorous movement :)

TIP: While applying the glue, be sure not to press the material down, but take 4 fingers and pat it down as you go. This will prevent any dark glue marks left on the showcase side of the pillow.